Gesture Controlled Car with Accelerometer
Hello! My name is Praneet and at BSE this summer, I will be working on a gesture controlled car with the addition of an accelerometer/gyroscope. This car will be controlled by my arm which will be linked to an ESP 32 microcontroller that will function the L298N motor driver connected to 4 DC motors, each pertaining to a wheel.
| Engineer | School | Area of Interest | Grade |
|---|---|---|---|
| Praneet Joshi | Irvington High School | Electrical and Computer Engineering | Incoming Junior |

Reflection
Reflecting on the last 3 weeks of BSE, I feel a lot more confident as finishing such a project, both code and hands-on based, in a span of 3 weeks is something I would not have imagined doing. However, upon finishing this project, I have now expanded my vision and have set some goals for myself to become a better, and more confident engineer. These goals include finishing the Gesture Controlled car by adding an Ultrasonic sensor which will detect an obstacle by emitting a high frequency sound and receiving it in a certain time which will then be used to calculate the distance, learning more about the ESP 32 microcontroller and what it has to offer, and getting started on a bigger, more intense project.
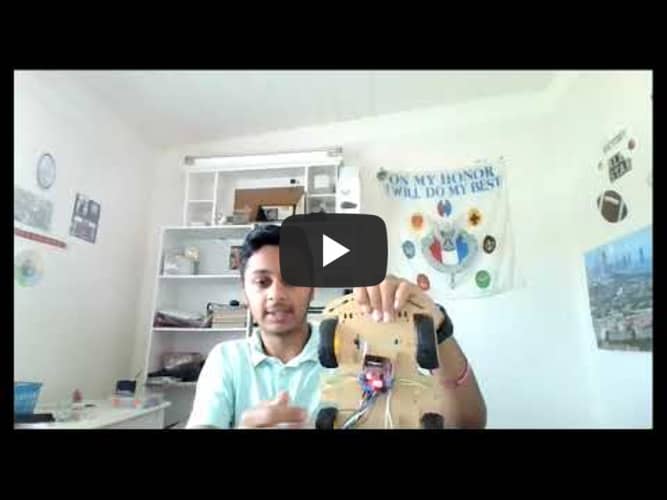
Final Milestone

My final milestone was creating a “sender” file and a “reciever” file respective to the sender ESP (on-hand) and the reciever ESP (on-car) while exchanging their MAC IDs in the Arduino IDE and uploading each file of code to its corresponding ESP 32 microcontroller. This process was a bit difficult as I had to combine some of the files I had made previosuly that gave me readings, functioned the motors, etc. Nevertheless, upon figuring this out, I was able to write the code that the sender should recieve and the code that the reciever should recieve. Once this happened, all I had to do was supply power to the two ESP 32s to enable them. I used two portable chargers for this and the outcome was the car responding to my hand gestures by moving in the direction I made the gesture for.
Second Milestone
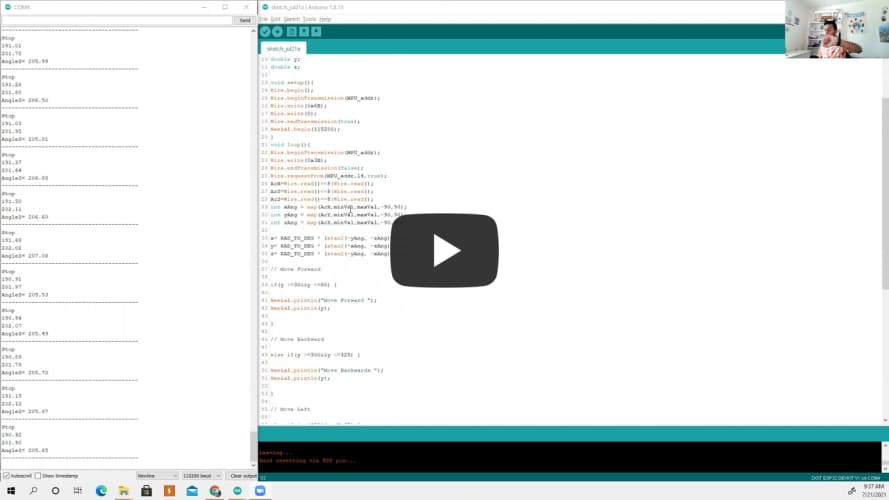
My second milestone was soldering the MPU6050 accelerometer and connecting it with a second ESP 32 microcontroller to recieve readings based on gestures made in the x, y, and z axes. Since the accelerometer also had a 3-axis gyroscope built in it, I was able to obtain both the rotational velocity and the angle of tilt in the 3 axes. Upon getting readings in the serial monitor of the Arduino IDE, I changed the unit of “radians” to “degrees” as it was easier to find a range of values in degrees. Next, I found of a range of values that would make the car move forward and backwards (x), and also left and right (y). I plugged these values into my code to recieve readings such as: “Move Forward,” “Move Left.” Lastly, I was able to connect the two ESP 32 microcontrollers using the “TwoWayESP” library.
#include<Wire.h>

double x;
double y;
double z;

// Converting to Degrees

x= RAD_TO_DEG * (atan2(-yAng, -zAng)+PI);
y= RAD_TO_DEG * (atan2(-xAng, -zAng)+PI);
z= RAD_TO_DEG * (atan2(-yAng, -xAng)+PI);

// Move Forward

if(y >=30&&y <=80) {

Serial.println("Move Forward ");
Serial.println(y);

}

// Move Backward

else if(y >=300&&y <=325) {

Serial.println("Move Backwards ");
Serial.println(y);

}

// Move Left

else if (x >=30&&x <= 65) {

Serial.println("Move Left ");
Serial.println(x);

}

// Move Right

else if (x >270&&x<=297) {

Serial.println("Move Right ");
Serial.println(x);
}


else {

Serial.println("Stop");
Serial.println(x);
Serial.println(y);

}

// Z Direction
Serial.print("AngleZ= ");
Serial.println(z);

Serial.println("-----------------------------------------");
delay(5000);

}


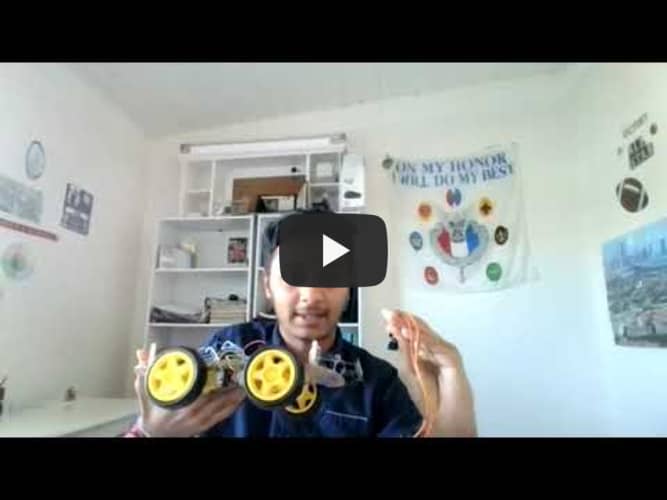
First Milestone
My first milestone was setting up the chassis and securing the 4 DC motors in place. While doing so, one of the fasteners snapped, however, I was able to glue it back together using a strong glue. Upon doing so, I used M-M Jumper Cables and connected all of the motors with the L298N motor driver. Furthermore, the L298N was then linked to an ESP32 (Reciever) using the Enable, input, GND, and 5V pins. On the ESP 32, it was essential to use the correct GPIO pins as some pins (e.g. > D25) were not be efficient.
Then, I plugged the ESP 32 (Reciever) to my computer using a micro-usb cable and uploaded a string of code I had written to test motors distinctly. Nevertheless, I figured that in order to turn the car, I would need to distinguish motors not individually but by sides (Left & Right). This way, in order to move forward and backward, all motors would spin the same way, however, in order to spin left and right, one side of motors would spin backward and the other side forward in respect to the direction of turn.
During this process, my motors were not spinning and upon researching this problem, I figured that the motor driver had probably overheated, causing a short circuit. Nevertheless, after around a week of debugging, I tried testing each module individually and realized that 9V of Voltage was not enough to simultaneously function 4 motors. Thus, I used an Arduino UNO board, plugged it into a wall socket and used its GND and V_IN pins to supply power to the motor driver which would then function the 4 motors. Since this process worked, making the car move as I had wanted it to, I became sure that the 9V battery pack was not able to supply enough voltage to power all of the motors.